

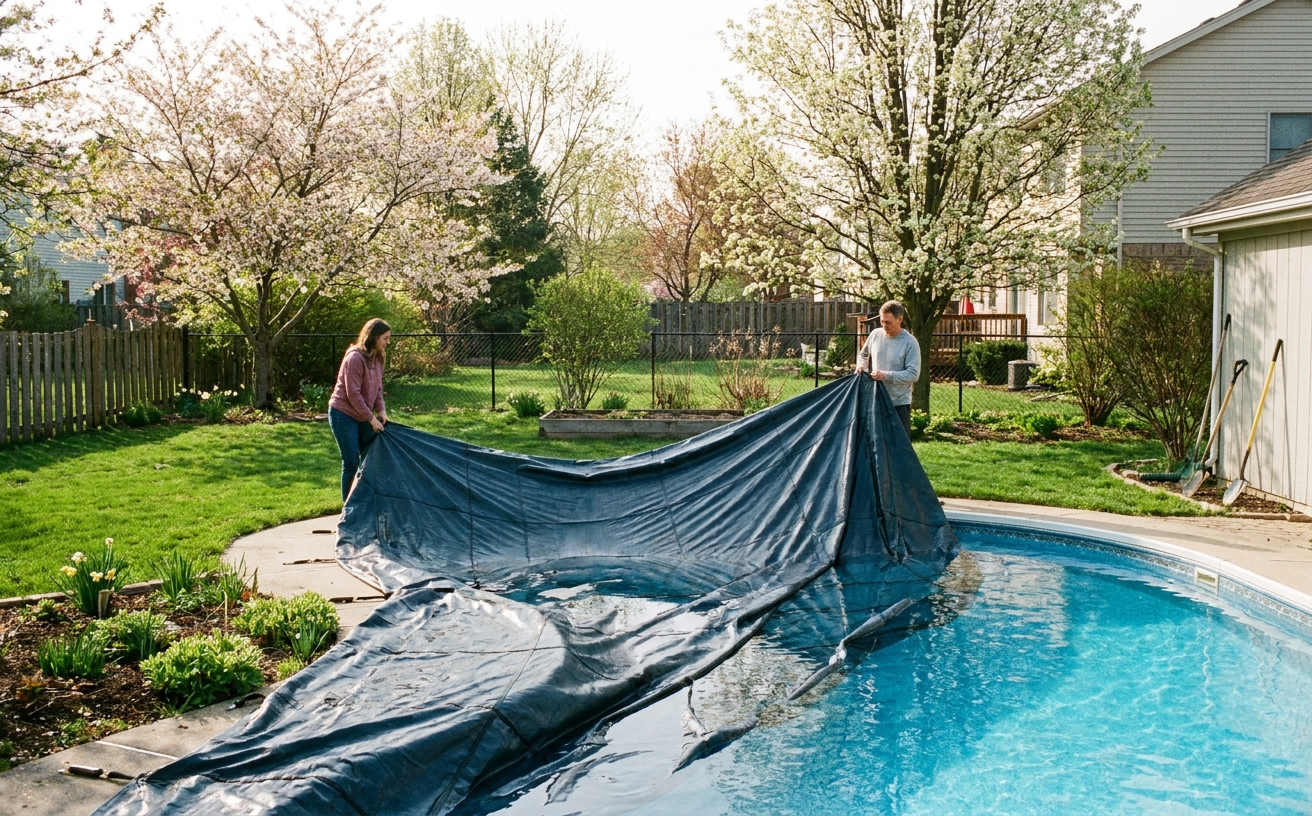
Spring pool opening is the one weekend project where the order of operations matters more than the effort you put in. Remove the cover before cleaning the deck, and debris blows into the pool. Start the pump before checking for winter damage, and you may circulate water through a cracked pipe. Add chemicals before the filter is running, and they distribute unevenly.
A systematic approach turns a chaotic weekend into a predictable process. Each step builds on the previous one, and mistakes are caught before they cascade into larger problems.
Before You Touch the Cover
- Remove all debris from the pool deck and surrounding area. Leaves, twigs, and dirt on the deck will blow into the pool the moment the cover comes off.
- Check the cover for standing water. Pump it off with a cover pump or wet vacuum before attempting removal. A cover with standing water is heavy enough to tear or pull anchors out of the deck.
- Inspect the cover for tears or holes that allowed debris to enter the pool during winter. Note the location and severity — these areas will need extra cleaning attention once the cover is removed.
- Gather all chemicals, tools, and replacement parts before starting. Running to the store mid-process delays the opening and leaves the pool exposed.
Removing the Cover
Pull the cover off with two people if possible. Fold it accordion-style rather than dragging it, which prevents debris on the cover surface from dumping into the pool. Lay the cover flat on a clean area of the deck and hose it off thoroughly before storing it.
Allow the cover to dry completely before folding it for storage. A damp cover stored in a dark location will develop mold and mildew that weaken the material and create an unpleasant odor. If you cannot dry it immediately, store it loosely rolled rather than tightly folded.
Inspect the cover hardware — anchors, springs, and buckles — for rust or damage. Replace any hardware that shows significant corrosion now, rather than discovering it during next fall’s closing when you need it to work immediately.
First Water Assessment
Before starting any equipment, assess the water condition. If the water is clear, you are in good shape. If it is green, plan for a shock treatment. If it is black or has a strong sulfurous smell, the pool sat stagnant too long and may need multiple shock treatments plus an algaecide.
Skim the surface and vacuum the floor to remove debris that entered during the winter or through the cover. Do this before starting the pump, because the pump will stir up settled debris and make it harder to remove manually.
Check the water level. It should be at the middle of the skimmer opening. If it is below the skimmer, add water before starting the pump. Running the pump with insufficient water damages the impeller and can cause the motor to overheat.
Equipment Startup
Before starting the pump, inspect all visible plumbing for cracks, loose fittings, or signs of freeze damage. Winter temperatures can split pipes and crack fittings even in regions where freezing is rare.
Open all valves that were closed for winterization. Check that the pump basket is clean and properly seated. Lubricate o-rings on the pump lid and filter housing with a silicone-based lubricant. Petroleum-based lubricants degrade rubber o-rings over time.
Start the pump and observe the system for leaks. Check every fitting, valve, and connection while the system is pressurized. Small leaks that are easy to fix now become major problems if left until the pool is full and running.
If the pump does not prime within five minutes, shut it off and check for air leaks in the suction line. Running a dry pump for more than a few minutes damages the seal and can warp the impeller.
Chemical Balancing
With the pump running and the system leak-free, test the water chemistry. Focus on the three parameters that matter most at opening: total alkalinity, pH, and chlorine.
Adjust total alkalinity first. Low alkalinity causes pH to bounce erratically, making subsequent adjustments unreliable. Raise alkalinity to the target range before adjusting pH or adding chlorine.
Adjust pH second, after alkalinity is in range. pH affects chlorine effectiveness, so getting it right before adding chlorine ensures the chlorine can do its job. Following a spring pool opening checklist that respects this order saves time and chemicals.
Add chlorine last, after alkalinity and pH are balanced. Shock the pool if the water was green or cloudy. Use a chlorine dose appropriate for the water condition: a standard dose for clear water, a double dose for green water, and a triple dose for severe algae.
The First Week After Opening
Run the pump continuously for the first twenty-four to forty-eight hours after adding chemicals. This ensures even distribution and gives the filter time to remove dead algae and suspended debris.
Test the water daily for the first week. Chemistry will shift as the water reaches equilibrium and the filter removes contaminants. Small adjustments during this period prevent the large corrections that result from neglecting daily testing.
Clean or backwash the filter after the first forty-eight hours. The initial startup generates more debris than normal operation, and the filter will load faster than usual. A clean filter at the end of the first week sets up the rest of the season for smooth operation.
Opening a pool is not complicated, but it is sequential. Each step depends on the previous one being done correctly. Skipping ahead creates problems that take longer to fix than the step you skipped. Follow the order, check each step before moving on, and the pool is ready for swimming by the end of the first week.